
Last updated November 2, 2026
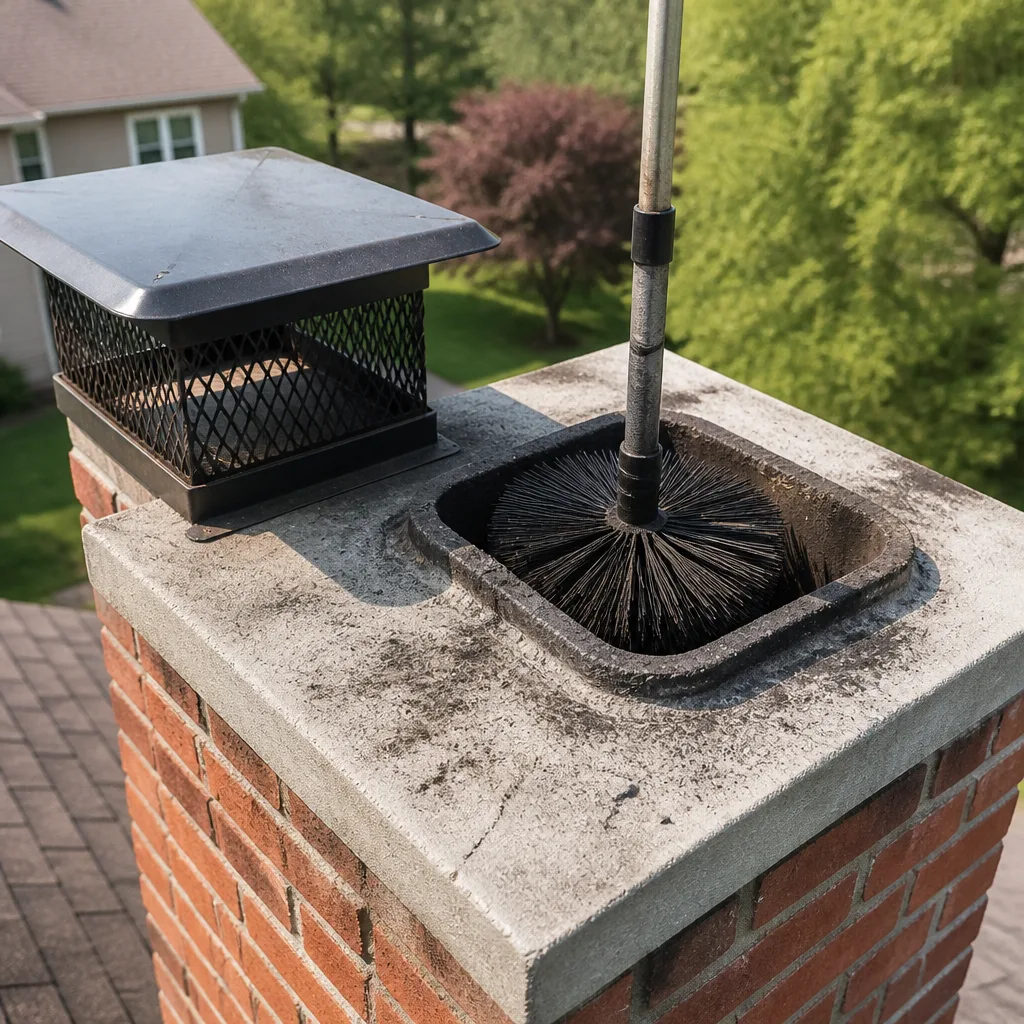 Sweep & inspection
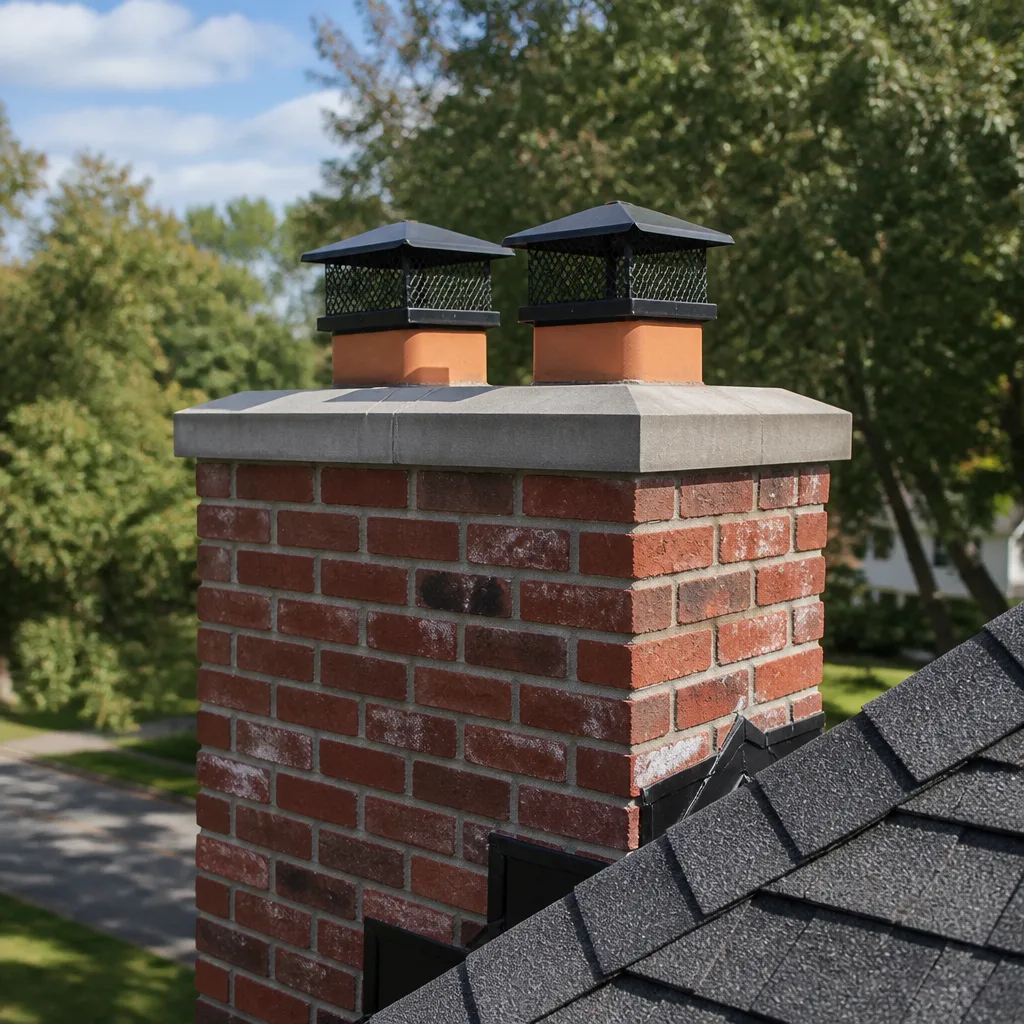 Caps & crowns
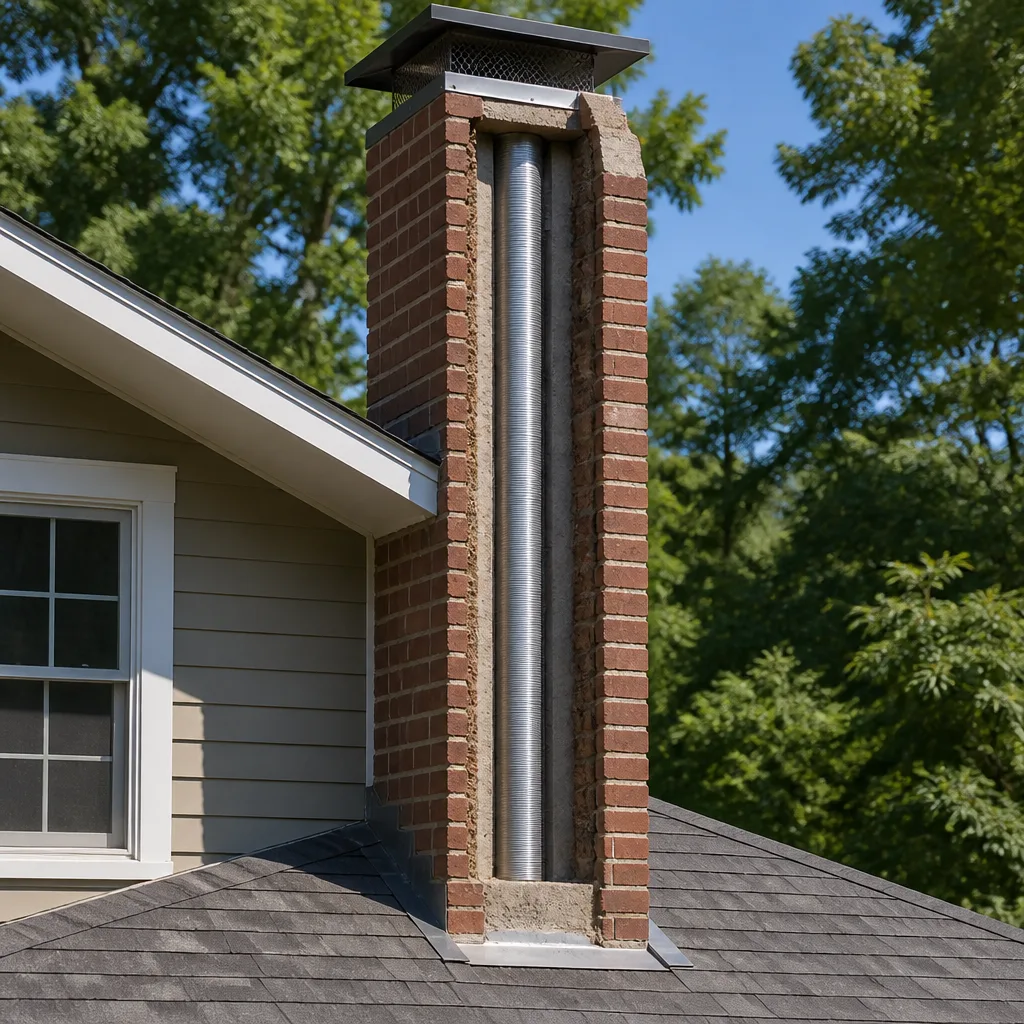 Flue relining
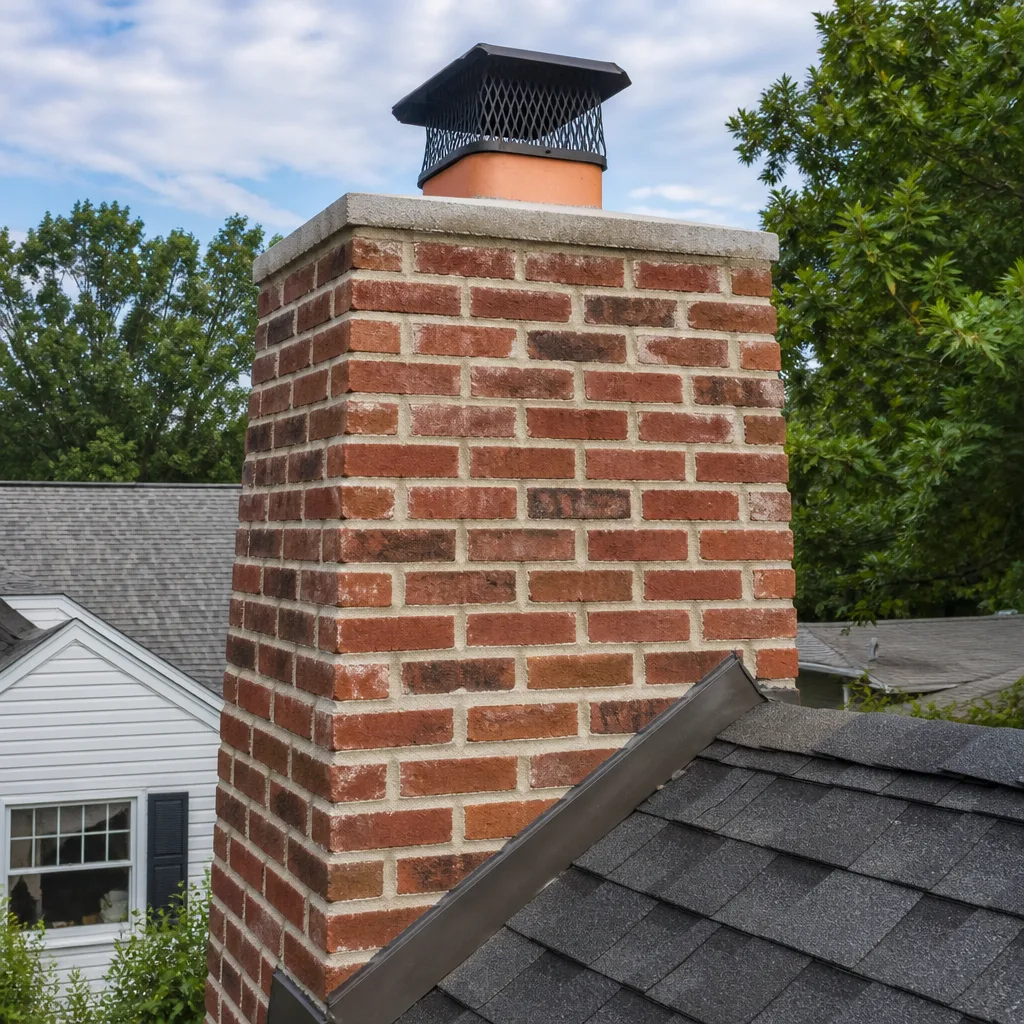 Masonry repair
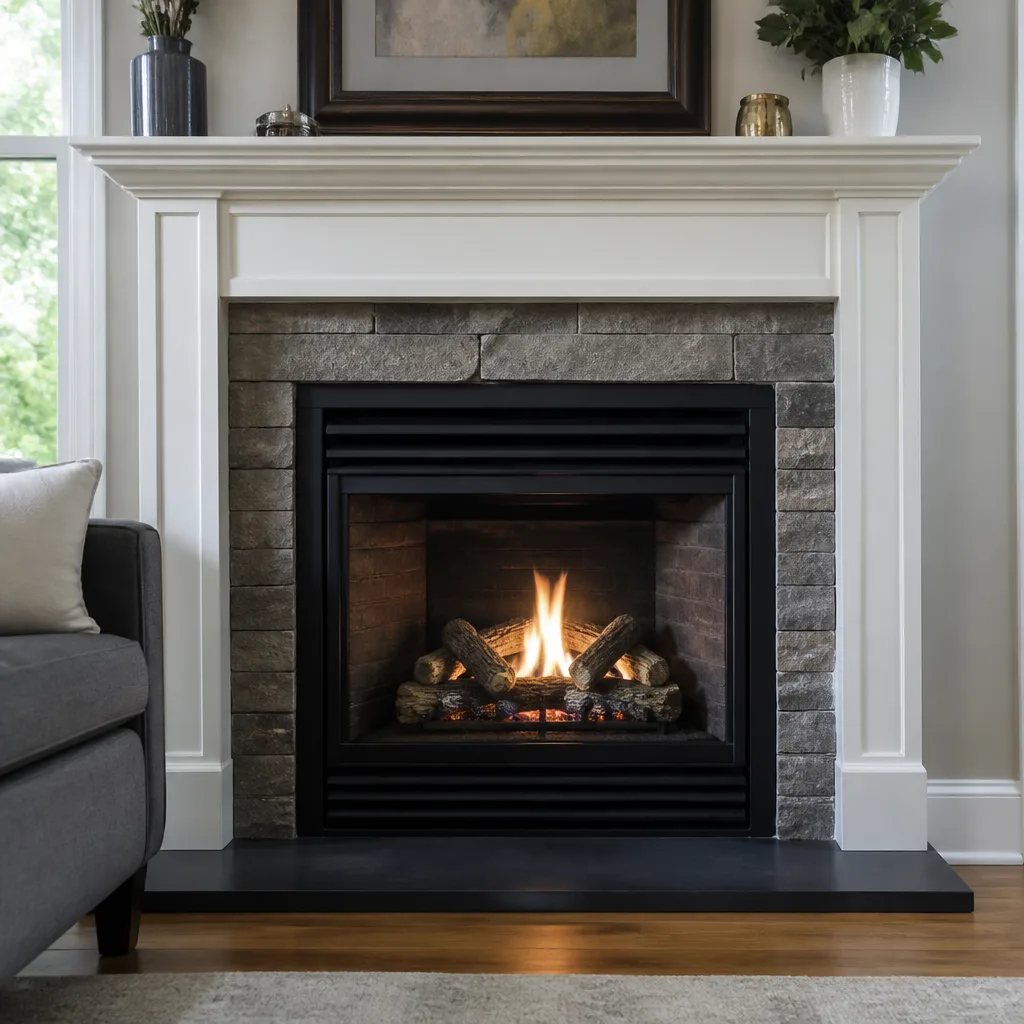 Gas fireplace service
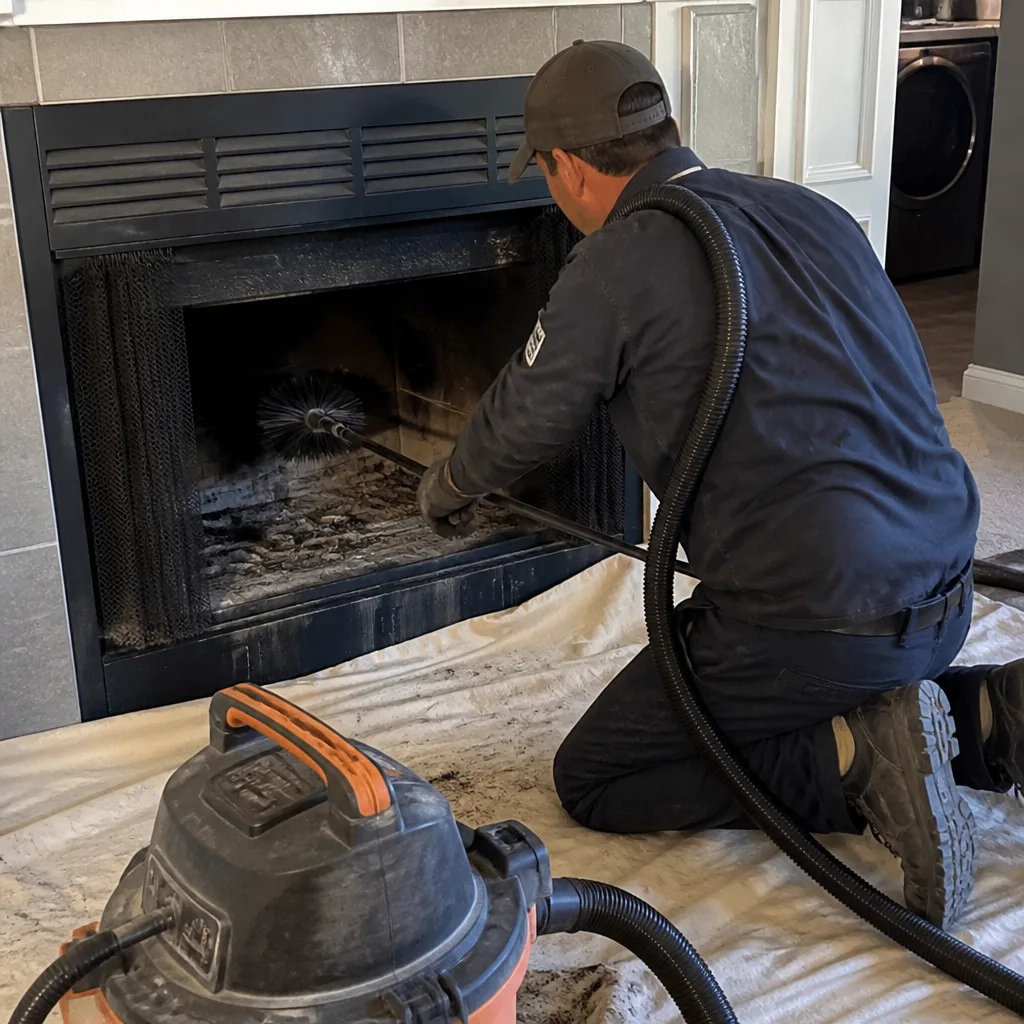
Level 1 sweep and inspection to the NFPA 211 annual standard - flue, crown, cap, and flashing checked and photographed
Chimney sweep logs do not sweep chimneys. They loosen some creosote - which then falls where a brush and vacuum still have to collect it.
Chimney Sweep Maintenance Checklist for Norwalk Homeowners
Most Norwalk homeowners assume a chimney fire happens to someone else. The National Fire Protection Association reports that chimney fires account for roughly 25,000 residential fires annually, and the leading cause is simply neglected maintenance. Here’s what makes this different from every other checklist you’ve read: we’re going to give you actual pass/fail criteria, not vague advice like “check your cap occasionally.” You’ll learn what a failing chimney crown actually looks like from the ground, which components you can photograph with your phone before calling a sweep, and how to keep a maintenance log your homeowners insurance company will actually accept. Norwalk’s specific climate, with its dry summers and wet winters, creates a predictable cycle of chimney deterioration that we see over and over.
Quick Answer
A Norwalk homeowner should inspect seven components twice a year: chimney cap, crown, flashing, firebox, damper, smoke shelf, and exterior masonry. Anything you can see from the ground with binoculars or photograph from inside the firebox you can check yourself. Anything requiring a ladder, a flashlight up the flue, or an understanding of liner condition requires a certified sweep. If your chimney hasn’t been professionally swept in 12 months, that’s step one, before any DIY checklist matters – consider our Chimney Sweep services to get started.
Styles & brands we work with
- Sweep & inspection
- Caps & crowns
- Flue relining
- Masonry repair
- Gas fireplace service
Table of Contents
- The Chimney Cap: Your First Line of Defense
- The Crown: Why It Fails Before Anything Else
- Flashing: The Leak You Won’t See Until It’s Expensive
- The Firebox: What Good Firebrick Looks Like
- Dampers and Smoke Shelves: The Hidden Mid-Chimney Problems
- Norwalk Seasonal Timing: When to Run This Checklist
- The Maintenance Log: A Format That Survives Insurance Scrutiny
- Cosmetic vs. Structural: What’s Actually Urgent
The Chimney Cap: Your First Line of Defense
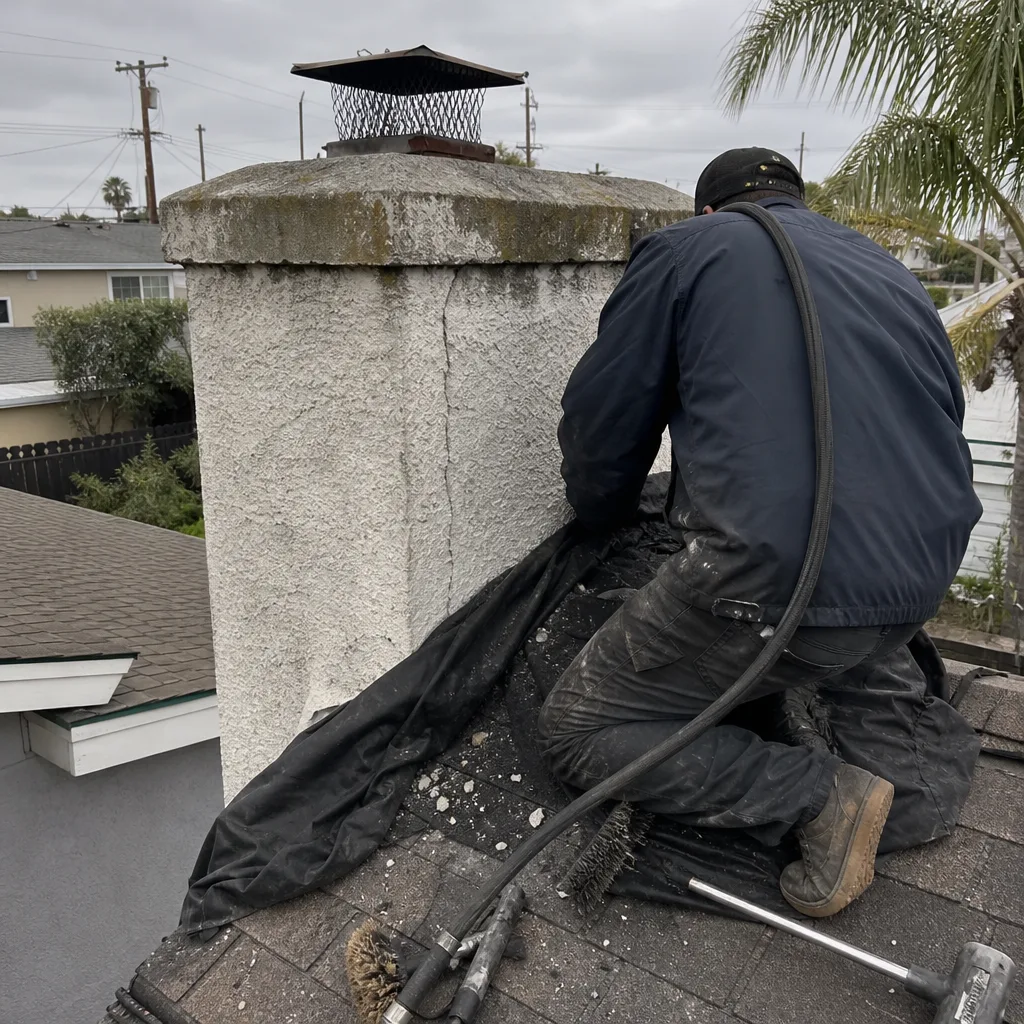
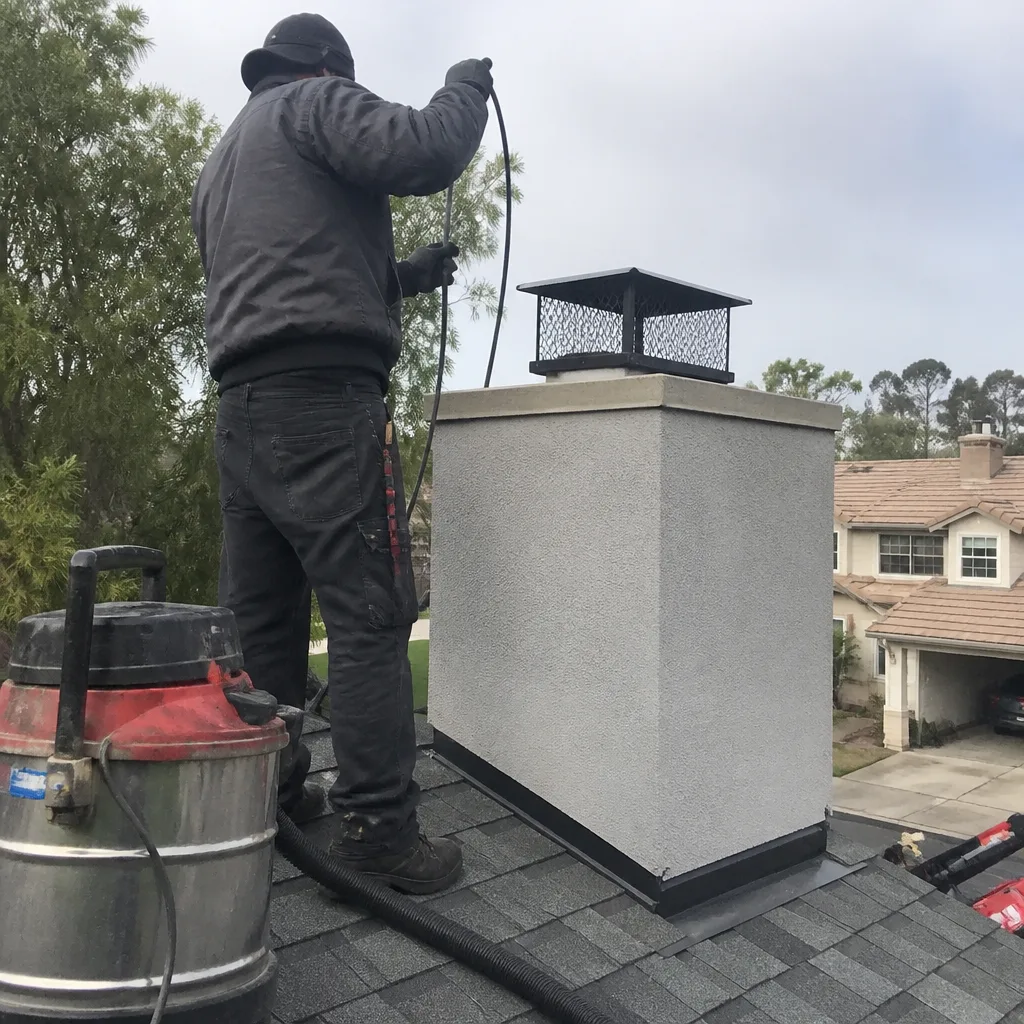
The chimney cap is the single most neglected component on Norwalk homes, and a missing or corroded cap turns a clean flue into a nesting site or moisture funnel within one rainy season. It sits at the very top of the flue and does three jobs: keeps rain out, keeps animals out, and contains sparks. When it fails, you don’t just get water damage. You get raccoons, squirrels, birds, and the nests they build, which become a chimney fire waiting for the first cold night of October.
Here’s what you’re checking from the ground with binoculars or a phone camera zoomed in:
- Pass: Cap is seated squarely on the flue, no visible rust through the galvanized coating, mesh screen intact with no gaps or pushed-in sections, and the top plate is flat, not dented or tilted.
- Fail: Cap is missing entirely, tilted more than 15 degrees, rusted through in any spot, mesh torn or sagging, or you can see nesting material protruding from the sides.
- Fail: Cap is present but the wrong size, with the flue opening visible around the edges.
In Norwalk, where April through October brings almost no rain, homeowners routinely forget about the cap until the first storm. That’s a mistake. A missing cap in June means a family of starlings moves in by July, fills the flue with dry grass and twigs, and turns your first fire of November into an attic fire. The cap is also one of the few chimney components where a homeowner can often visually confirm a problem without a ladder, as long as you’re comfortable with binoculars and an honest self-assessment of what you’re actually seeing.
If the cap has failed, replacement is not a cosmetic fix. We install caps from Copperfield and Famco, brands built for coastal and high-heat environments, and we size them to the actual flue dimensions rather than guessing at the supply yard. A $60 big-box cap that doesn’t fit properly is just a new problem installed at height.
The Crown: Why It Fails Before Anything Else
The crown is the concrete slab that caps the top of the chimney structure, not the flue itself. Water is the enemy, and in Norwalk’s freeze-thaw-free climate, you might think crowns last forever. They don’t. Southern California crowns fail from UV exposure, thermal expansion, and the simple fact that most were poured too thin and without proper expansion joints when the home was built. A failing crown lets water into the chimney chase, and once water gets in, it rusts the damper, deteriorates the smoke shelf, and eventually works its way into the attic framing.
Here’s what a failing crown looks like from the ground:
- Pass: Crown has a visible slope that sheds water away from the flue, no cracks wider than a quarter-inch, and the joint where the crown meets the flue tile is sealed with a flexible material, not cracked concrete.
- Fail: Crown is flat, cracked in a spiderweb pattern, or missing chunks. Efflorescence, that white chalky deposit on the brick below the crown, tells you water is already moving through the masonry.
- Fail: You can see exposed aggregate, meaning the cement paste has weathered away and water is now penetrating the crown itself.
The crown rebuild is one of the most common repairs we do in Norwalk, and it’s also one of the most botched by general contractors who use the wrong mortar mix. A proper crown uses a Portland-based mix with a bonding agent, slopes a minimum of two inches per foot, and includes a flexible sealant joint around the flue tile, because the flue expands at a different rate than the surrounding concrete.
Flashing: The Leak You Won’t See Until It’s Expensive
Flashing is the metal that seals the joint where the chimney meets the roofline. On most Norwalk homes, it consists of step flashing, counter flashing, and a base flashing, all of which should be buried under the roofing material and cut into the chimney masonry. The problem is that flashing doesn’t fail loudly. You’ll notice a water stain on the ceiling below the chimney chase, or peeling paint on the interior wall near the fireplace, and by that point the roof decking or framing may already be compromised.
Your checklist for flashing is simple, but it requires either a ladder and a careful look, or a roofer’s perspective:
- Look for lifted edges. Any flashing edge that’s no longer flat against the chimney or the roof is a water entry point. Norwalk’s wind season, typically January through March, works flashing back and forth until it fatigues.
- Check the sealant. If someone caulked the flashing joint instead of using properly lapped metal, the sealant will fail within a few seasons. Look for cracked, peeling, or missing caulk.
- Look for rust. Galvanized flashing on a Norwalk home built in the 1970s or 1980s is often at end of life. Rust streaks on the chimney or roof below the flashing line are a fail.
- Check the counter flashing depth. Counter flashing should be set into a saw-cut groove in the brick, not surface-mounted with adhesive. If you can see the top edge of the counter flashing, it’s probably surface-mounted and failing.
If you’re not comfortable on a ladder near your roofline, this is the one component where we tell Norwalk homeowners to flag it for the next sweep visit. Our inspection includes a roof-level check of all flashing when conditions allow, and we photograph what we find so you’re not taking our word for it.
The Firebox: What Good Firebrick Looks Like
The firebox is the lined area where you actually build the fire. You can inspect this from inside your home without any tools, and a phone flashlight is sufficient for a meaningful look. The firebox should be lined with firebrick or refractory panels, not regular red brick, and those panels should be intact, not cracked, not buckled, and not missing pieces.
Here’s your pass/fail criteria:
- Pass: Firebrick or refractory panels are intact, with mortar joints no wider than a quarter-inch. Minor hairline cracking in the surface of the panel is normal as refractory material cycles through heat and cooling.
- Fail: Panels are cracked through, buckled inward, or missing. If you can see the metal firebox shell behind the panels, that’s an immediate fail, because the shell is not designed to take direct flame.
- Fail: Mortar joints have eroded more than a half-inch deep. You should not be able to see daylight or dark voids between firebricks.
- Fail: The firebox floor, or hearth, is cracked through and moving. A small crack from the front to the back of the hearth is common and usually not urgent. A crack with vertical displacement, or a piece of firebrick that wiggles, is structural.
The firebox is one area where the difference between “clean” and “safe” matters. A sweep can make the firebox look brand new while structural problems lurk underneath. We don’t just sweep, we repair what we find. In our repair work across Norwalk, we frequently open up fireboxes that looked passable after a cleaning and find the refractory panels were being held in place by nothing but creosote. That’s not a protected firebox; it’s a firebox waiting for a panel to fall into the fire mid-season.
Dampers and Smoke Shelves: The Hidden Mid-Chimney Problems
The damper is the metal or ceramic plate that seals the firebox from the flue when you’re not burning. The smoke shelf is the flat area just above the damper, where smoke gathers briefly before drafting up the flue. Neither is visible from the ground, and that’s exactly why they accumulate problems unnoticed.
That said, you can still assess your damper function from inside the firebox. This isn’t a theory; it’s a checklist item anyone can do in five minutes.
Damper Checklist
- Open and close it fully. If the damper plate doesn’t move through its full range, is seized, or makes a grinding sound, that’s a fail. A damper that won’t close means your air-conditioned air is escaping up the flue all summer.
- Look for rust. Surface rust is normal on steel dampers. Flaking, through-rust, or holes are a fail, because a rusted-through damper can’t seal and may eventually drop into the firebox.
- Check the seal. With the damper closed, give the plate a gentle wiggle. It should seat solidly. If it rattles or has visible gaps around the edge, the seal is compromised.
- Look up at the smoke shelf. Use a flashlight and a mirror if you can’t angle yourself directly under it. The smoke shelf should be smooth and free of loose mortar. You’re looking for pieces of broken flue tile, loose mortar, or accumulated creosote that looks like black, flaky paper.
The smoke shelf is also the place where animals nesting through a missing cap end up. We’ve pulled raccoon kits out of smoke shelves in Norwalk homes during October more times than we’d like to count. If you see any nesting material or hear any sounds from the chimney when you tap the flue, leave the damper closed and call a professional before you have an animal relocation (and the mess that goes with it) on your hands.
Norwalk Seasonal Timing: When to Run This Checklist
The mistake we see Norwalk homeowners make every year is running their chimney maintenance checklist in October, right before the first fire, when every sweep in the city is booked solid and any repair that surfaces can’t be done until after the burning season starts. You’re not helping yourself by discovering a cracked flue liner on November 1st.
Here’s the schedule that works for Norwalk’s climate:
- April to May: Post-rain inspection. The wet season is ending. Walk the checklist with a focus on anything water touches: cap, crown, flashing. Look for efflorescence that appeared during the rainy months. Photograph anything suspicious and log it.
- July to August: Schedule your sweep. This is the dead zone for chimney work, which means you’ll get on the calendar when you want, not when there’s an opening. Repairs can be completed before the fall rush.
- September: Final pre-season checklist. Run the whole list once more. Confirm your sweep or repair appointment is booked. Test the damper one more time.
- October through December: Burning season. Run a light version of the checklist monthly: visual check of the firebox, damper operation, and a glance at the exterior masonry from the ground. Anything unusual, stop burning until it’s checked.
- January through March: Storm season. After each heavy rain event, check the ceiling near the chimney for water stains. Check the firebox for water. Log everything.
- Date of inspection or service
- Who performed the work: homeowner visual check, company name, or both
- What was inspected: list the seven components from this guide
- Condition noted: pass or fail for each, with a one-sentence description of any fail
- Action taken: cleaned, repaired, replaced, or no action needed
- Photos: at least three photos per inspection, stored in a folder with the date in the filename
- Invoice or receipt: if professional work was done, keep the invoice with the log entry
- Efflorescence: That white chalky deposit on brick is just salt minerals left behind when water evaporates. It tells you water is moving through the masonry, but by itself it’s not damage. Fix the water entry point, brush it off, and watch.
- Minor staining: Dark streaks on the chimney exterior are almost always biological growth or soot staining from the cap. Cleanable, not structural.
- Hairline cracks in the firebox floor: As mentioned, normal thermal cracking in refractory material. Not urgent unless the crack has displacement or a piece moves.
- Surface rust on the damper plate: Normal on uncoated steel. Only through-rust matters.
- Spalling brick: When the face of the brick pops off, usually from water trapped in the masonry, you’re no longer looking at cosmetic damage. The brick is losing material, and the chimney is losing structural integrity. Left alone, spalling progresses to the point where the chimney requires partial rebuilding.
- Cracked flue liner: This is the thing we find most often in Chimney Repair calls that started as routine sweeps. A cracked clay flue liner means the chimney’s fire containment is compromised. Combustion gases and heat can reach combustible framing. This is a repair, not a recommendation.
- Displaced firebrick: If a firebrick moves when you push on it, the firebox has lost its protective lining. Stop burning immediately.
- Water in the firebox after rain: This is a flashing or crown failure that has already penetrated the home. The water you see is the tip of the problem.
- Damper that won’t close: During fire season this is a nuisance. Year-round it means you’re heating and cooling the Norwalk sky. A damper that won’t seat is a repair item, and it’s one of the least expensive fixes on this list.
This cadence does something important: it matches the actual failure modes of Norwalk’s climate. Water issues surface in spring when the rains stop and the evidence is visible. Creosote loading peaks in the burning season and is easiest to remove when it hasn’t sat all summer. Scheduling in July or August means you’ll have next-day availability instead of a four-week wait.
The Maintenance Log: A Format That Survives Insurance Scrutiny
Homeowners insurance companies have started requesting chimney maintenance records after fire claims. When they do, a spreadsheet that says “chimney cleaned, 2019, I think” won’t hold up. The documentation needs to be specific enough to demonstrate that a reasonable person maintained the system.
Here’s the exact format we recommend. You can use a notebook, a spreadsheet, or a notes app, but the fields matter:
For the homeowner visual check, the log entry might look like this: “Date: April 12, 2026. Inspected: cap, crown, flashing from ground with binoculars; firebox and damper from interior. Condition: cap pass, crown pass, flashing pass, firebox pass, damper pass. Action: none. Photos: 4 photos in Chimney Log folder, April 2026.” That’s it. Two minutes of work, and you’ve created a record that demonstrates ongoing diligence.
The combination of visible documentation and a repeated history of professional sweeps is what keeps insurance adjusters from finding fault after a claim. A Chimney Sweep in Norwalk visit provides an invoice and, in our case, a written condition report with photos, which slots directly into this log format.
Cosmetic vs. Structural: What’s Actually Urgent
This is where homeowners get either too alarmed or not alarmed enough. We see both failure modes in Norwalk constantly: people who panic over a stain and people who ignore a cracked liner. Here’s the line.
Cosmetic, monitor but don’t panic:
Structural, act now:
When we do find a deteriorated clay liner in a Norwalk home, there are two repair paths. We’ll lay out both and tell you which one the condition actually warrants. A full reline with a DuraFlex flexible liner system is the gold standard for fires that see regular use. For flues with less severe deterioration but enough spalling and cracking to be a real concern, HeatShield resurfacing can restore the flue surface at a lower cost. We’ll show you the camera footage and explain why the recommendation is what it is. We don’t recommend work without visual evidence you can see for yourself.
Common Mistakes to Avoid
- Skipping the chimney cap check. In Norwalk, a missing cap in summer means an animal nest by fall. A nest in the flue is a chimney fire waiting for a heat source. Check the cap before you check anything else.
- Cleaning as a substitute for inspection. A sweep removes creosote, but it doesn’t replace a component-level look at the cap, crown, flashing, and liner. Norwalk homeowners who book a basic sweep without an inspection get a clean flue and the same structural problems.
- Ignoring efflorescence. White residue on the brick is a signal, not a stain. It means water is already inside the masonry and migrating out. Ignore it and the next symptom is spalling, which costs ten times as much to fix.
- Waiting until October to schedule anything. Every chimney company in Norwalk is booked from late September through December. If you run your checklist in October and find a problem, you’ll either burn anyway (bad) or sit out the season (frustrating). July and August are when smart homeowners book.
- Treating the dryer vent as a separate thing. Lint-clogged dryer vents are among the leading causes of residential fires in the U.S., and most chimney companies won’t touch them. If you’re having your chimney swept, have the Dryer Vent Cleaning in Norwalk done at the same time. It’s the same appointment, and it closes a fire risk most homeowners never think about.
- Keeping no records. After a fire claim, the insurance adjuster will ask for maintenance records. If you can’t produce them, expect the claim to be contested. A two-minute log entry after each inspection is the cheapest insurance you’ll ever buy.
- Assuming a clean chimney is safe. A clean flue with a cracked liner is still a fire hazard. A clean flue with a failed cap is one storm away from a water damage claim. Cleaning is maintenance. Safety is inspection plus maintenance plus repair when needed. From the firebox to the cap, every component inspected.
See the difference
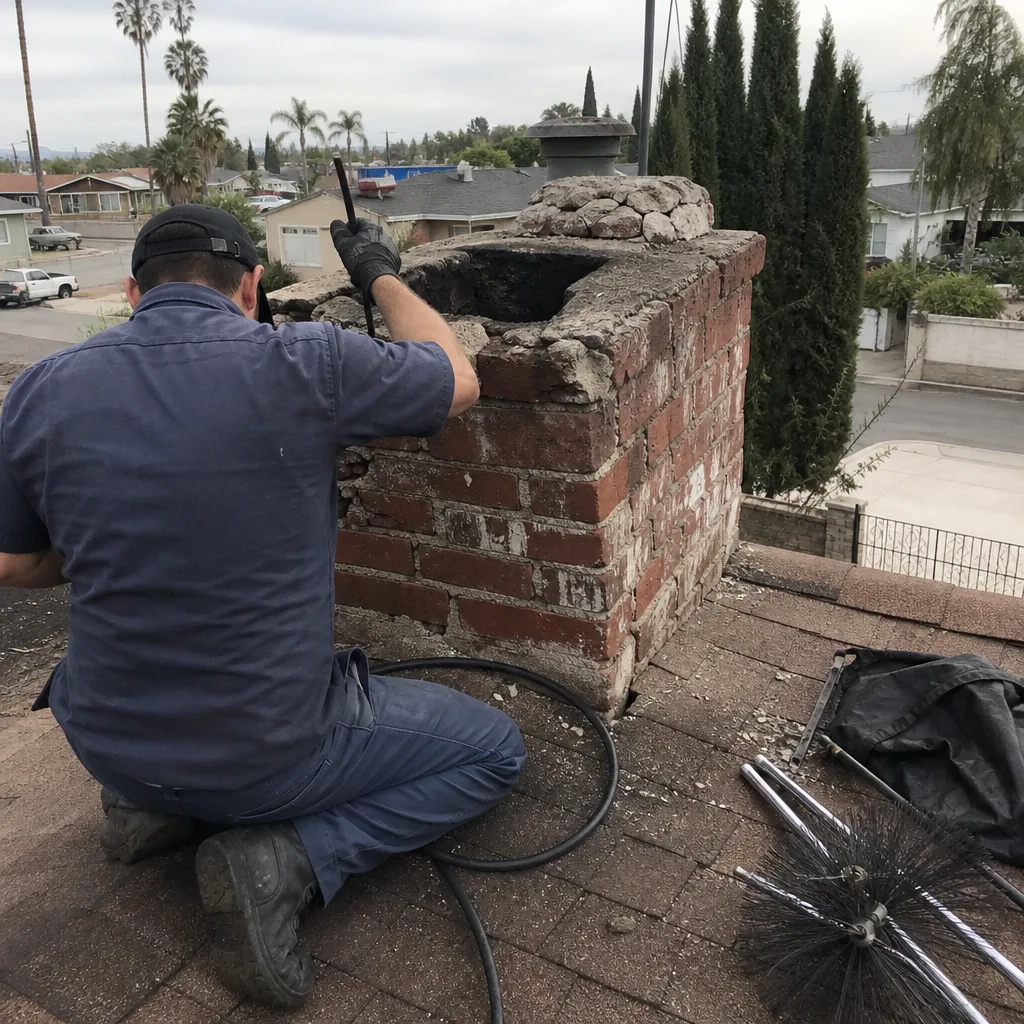 Before
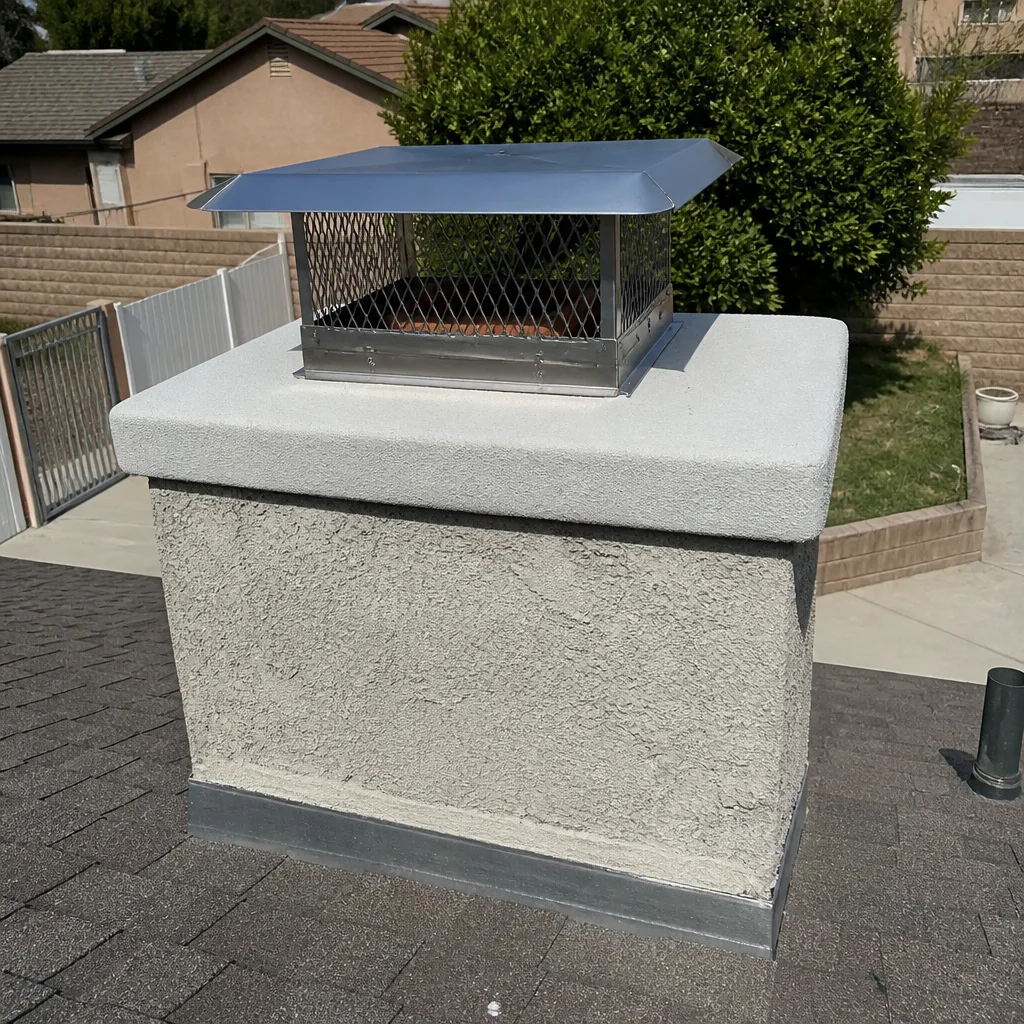 After
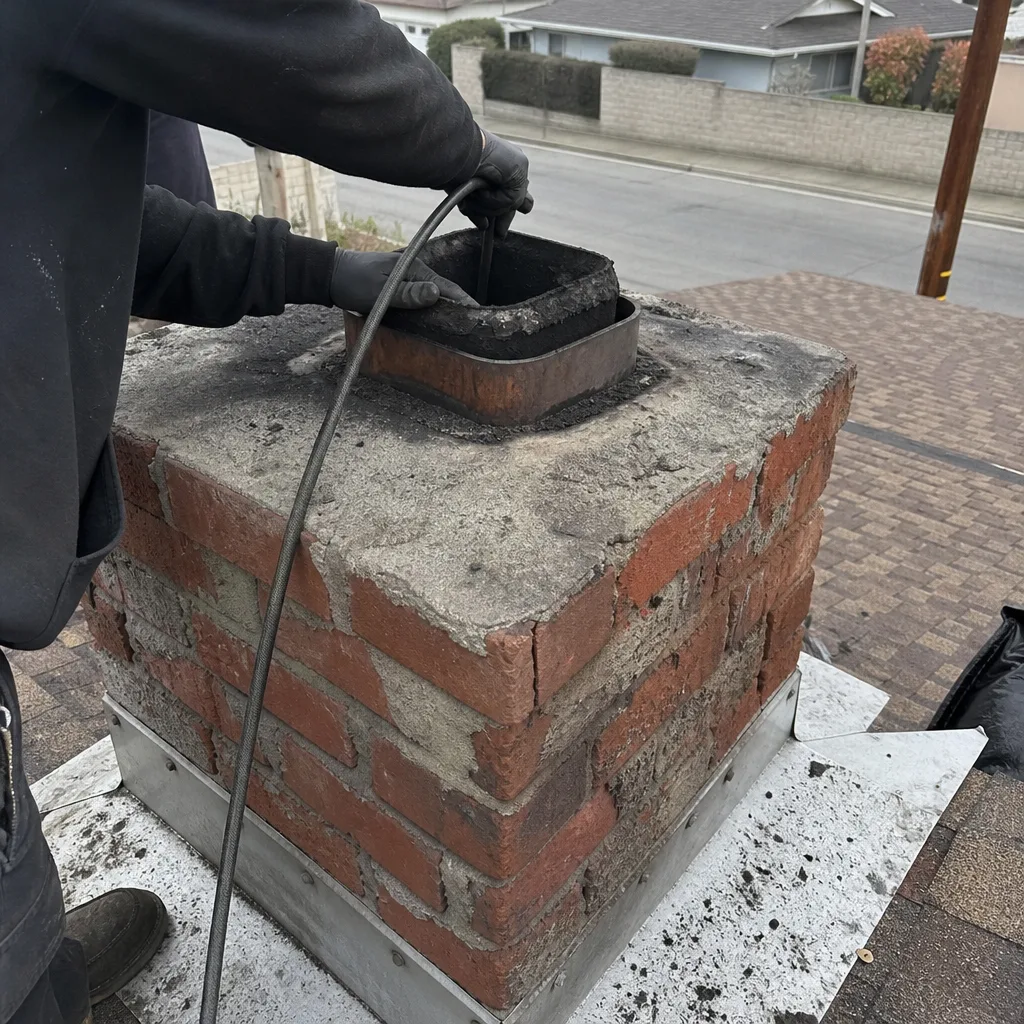 Before
 After
 Before
 After
When to Call a Professional
Some checklist fails are homeowner-observable but not homeowner-fixable. If you find a cracked or shifted firebrick, a damper that won’t seat, spalling brick anywhere on the chimney, water staining on the ceiling near the chimney chase, or a flue you suspect is cracked, that’s not a weekend project. These conditions require someone who works on chimneys specifically, not a general handyman who’ll re-caulk the flashing and call it done. Norwalk’s climate and the age of most local housing stock mean these are common finds, and most are repairable when caught early. Chimney Repair Norwalk offers free estimates in Norwalk, call (855) 942-0212, and you’ll get an honest assessment with photos, not a scare quote. We also handle the repair work if you need it, from Chimney Repair Norwalk home service calls to full relines with DuraFlex and HeatShield systems.
Frequently Asked Questions
Every 12 months of regular use, or after approximately one cord of wood, whichever comes first. Norwalk’s burning season is relatively short, but if you burn every weekend from October through March, you’re putting enough creosote on the flue walls to warrant an annual sweep. Gas inserts need less frequent sweeping but should still be inspected annually for venting problems.
Expect $150 to $300 for a standard sweep with a visual inspection, depending on the chimney’s condition and whether you add services like dryer vent cleaning. If your sweep uncovers structural problems, the cost goes up, but any reputable company will show you the evidence before quoting repairs. Call (855) 942-0212 for an exact quote, estimates are free.
You need a new liner or a HeatShield resurfacing if the existing flue has cracks, gaps, or spalled sections that let heat and gases escape the flue channel. This isn’t a cosmetic issue. If a company recommends liner work, ask to see the camera footage. A legitimate inspection includes a video document of the liner condition. We show every Norwalk client their flue camera footage before recommending any liner work, and we’ll tell you plainly if a sweep and monitoring is the right call instead.
Creosote accumulates, and creosote is flammable. A chimney fire burns hot enough to crack the flue liner, which then allows heat and embers to reach the home’s framing. Even without a fire, a neglected cap and crown lead to water damage inside the chimney chase, which leads to spalling brick, rusted dampers, and in severe cases, chimney rebuilds. The most expensive chimney repair we do in Norwalk usually starts with years of small, skipped steps.
You can brush a straight, accessible flue with a wire brush kit, but you won’t get the full picture, and you can’t see what you’re missing. Creosote type matters, and mechanical brushing doesn’t address third-degree glazed creosote, which requires chemical or rotary treatment. And no brush kit will tell you if your liner is cracked. A sweep is a cleaning service plus an inspection. Call (855) 942-0212 to schedule one, and you’ll know what’s actually going on up there.
Most policies require that you maintain the home, which includes the chimney, but they don’t specify an inspection interval. That changes when you file a claim. After a chimney fire or water damage claim, insurers will look for evidence that you maintained the system. A log with dates, photos, and invoices from professional sweeps is what gets a claim approved without a fight.
The Bottom Line
A chimney maintenance checklist for Norwalk homeowners comes down to seven components and two seasons, and you can find more guides & resources on our blog to keep your system safe year-round. Check the cap, crown, flashing, firebox, damper, and smoke shelf twice a year, once after the rains and once before burning season. Document everything, even the pass results, because insurance companies don’t accept memory. Know the line between cosmetic and structural, and when a component crosses that line, call someone who repairs what they find rather than cleaning around the problem. One call covers your chimney and your dryer vent. If it’s been more than a year since your last professional sweep, start there.
Written by the team at Chimney Repair Norwalk, serving Norwalk since 2017.